Lab 1 – DDoS Hybrid Defender Setup
Estimated completion time: 20 minutes
Task 1 – Initial Set-up
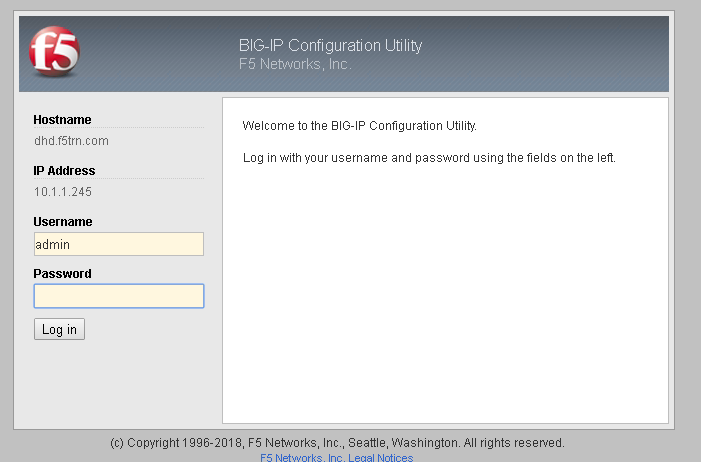
- Open the Chrome web browser and access the DHD from the toolbar shortcut.
- Login to the BIG-IP Configuration Utility using the ”admin” account.
Note
When you first power up a F5 DHD device you would normally go through the steps of licensing, provisioning and basic set-up. We have licensed, assigned the management IP, hostname, NTP and DNS servers for you. Verify DHD and Jumpbox are showing same time.
Note
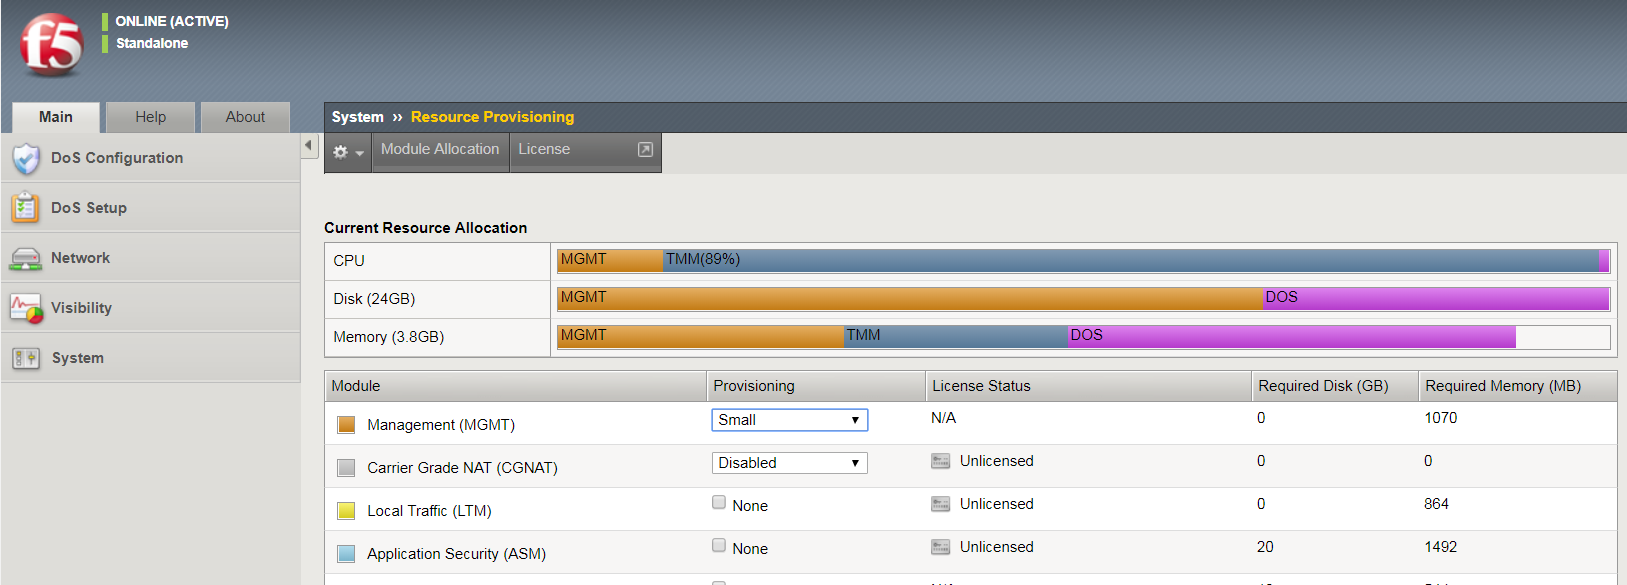
If you are familiar with the BIG-IP UI, You will notice the menus on the left are consolidated. This is an indication you are working with a DDoS Hybrid defender device.
Expand each panel section to see the components available in each section.
- Dos Configuration: Where most day-to-day configuration takes place.
- Dos Setup: Where one-time or infrequent system Dos configuration is performed.
- Network: The new simplified Security Network Configuration utility to add new network topologies to the system.
- Visibility: Were the Analyst will spend a majority of the time looking at the GUI and logs.
- System: Shows a subset of the system utilities found in the traditional TMUI System menu. (Available in Advanced View on the DHD)
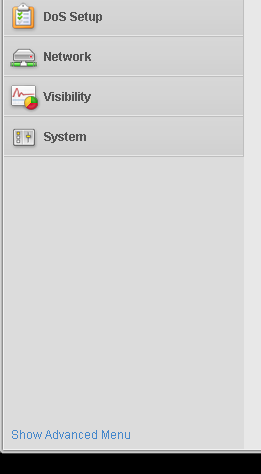
 - If you need to access more options, there is a shortcut at the bottom of the Menu page. Show Advanced Menu
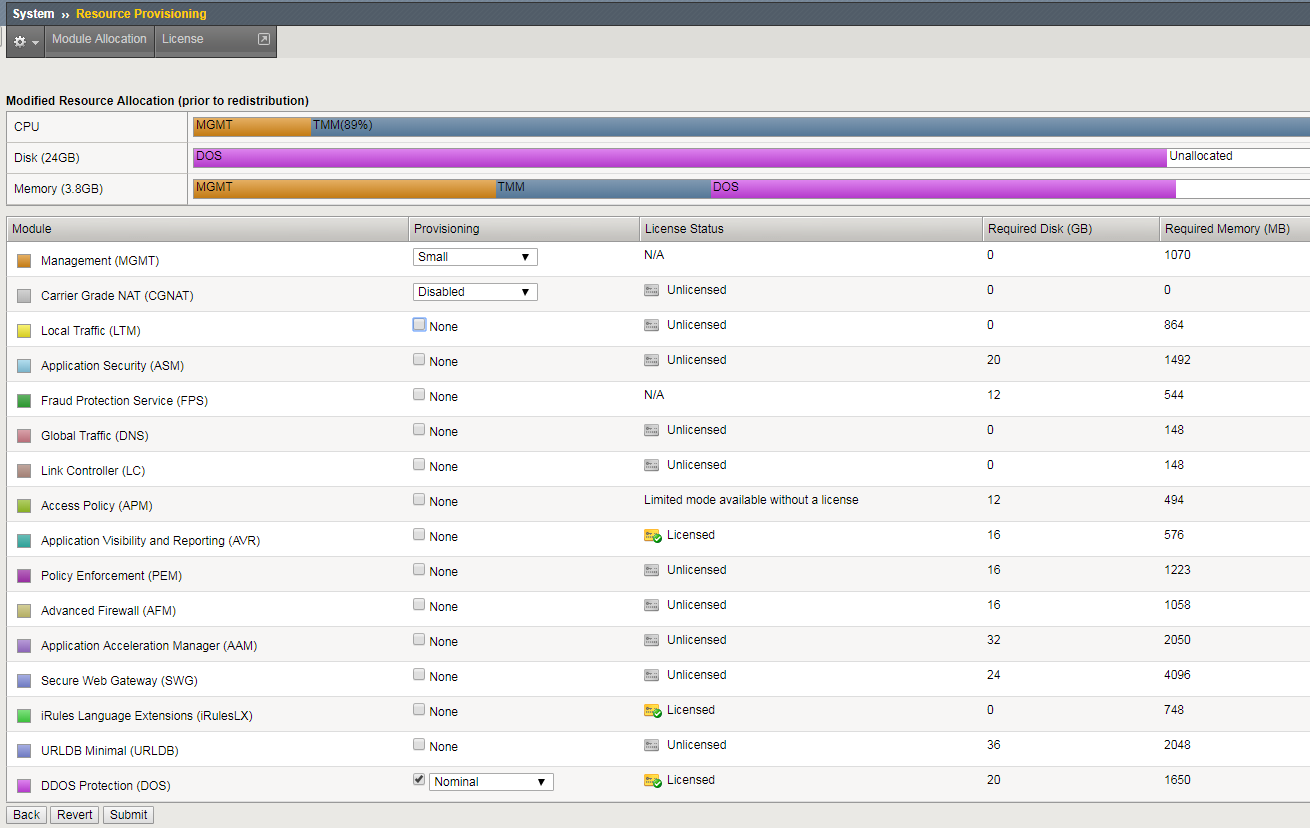
- Explore the Resource Provisioning page
Note
The above task ensures that you are using a purpose built DDoS Hybrid Defender. If you are familiar with other F5 Modules/Technology that you have used in the past, you will notice that we have none of those provisioned.
- When done click Submit.
Task 2 – DDoS Hybrid Defender Base Configuration
The architecture and design decisions should have been made already. Based on F5 recommendations we are going to deploy this device in L2 Transparent Mode.
- Click Network in the left hand menu. Then Select Topology.
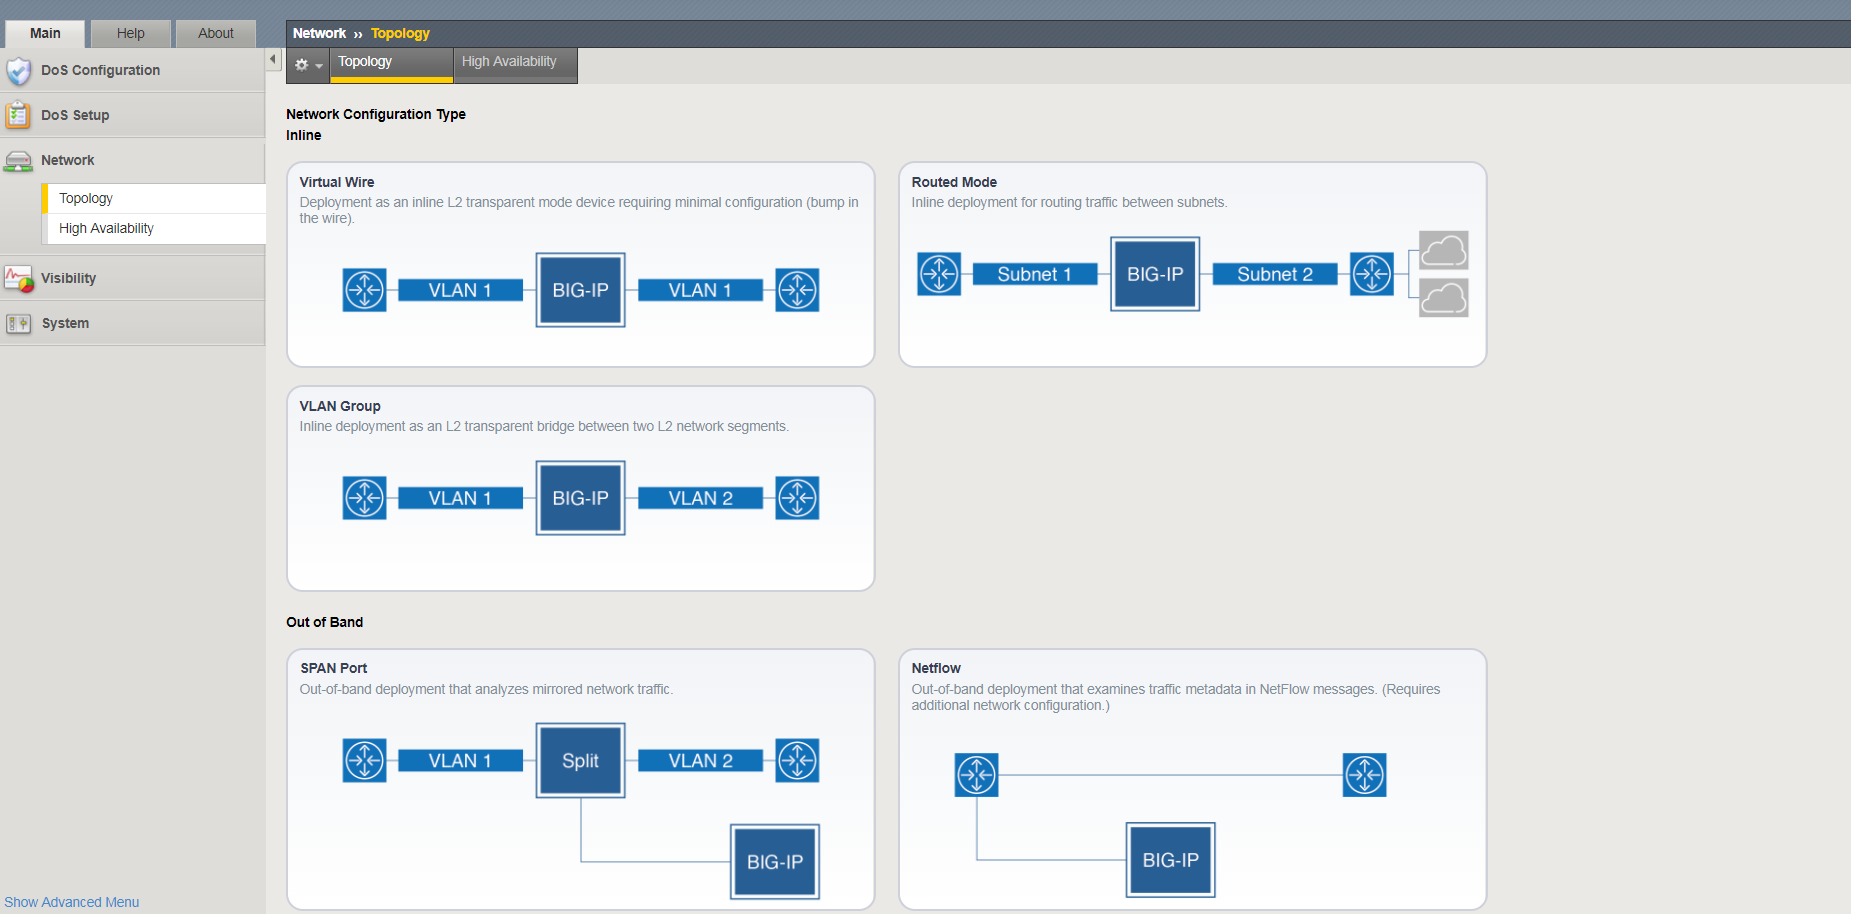
- Click Create on the upper right side.
- You will notice the various options you can select based on the prior architecture decisions.
- For this classes purpose Click on the VLAN Group image.
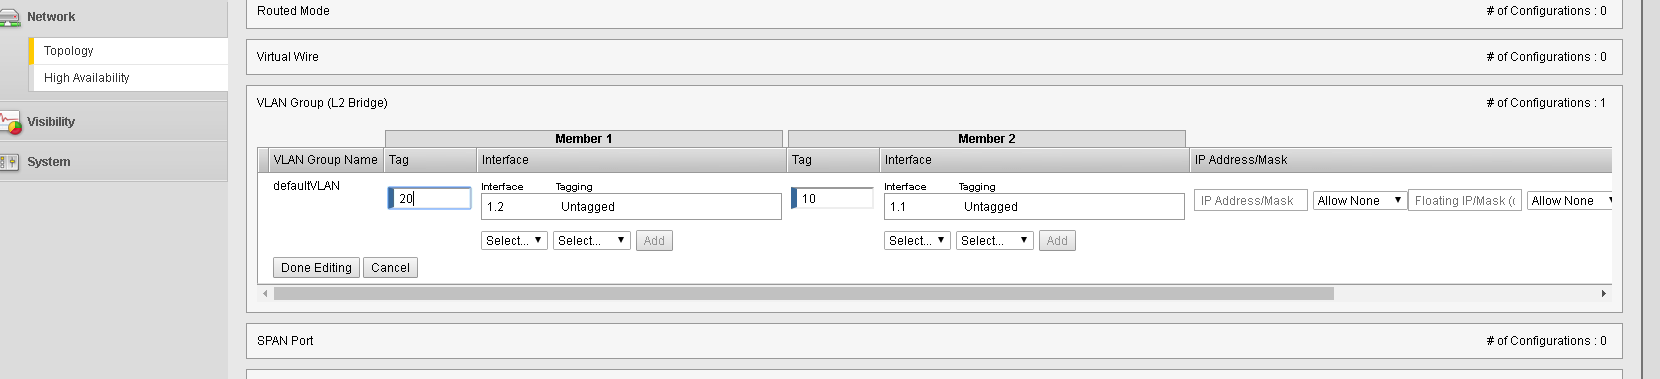
 - Fill out the information from the table below. Then Click Done Editing within that section.
| VLAN Group Name: | defaultVlan |
| Internal: VLAN Tag | 20 |
| Internal: Interfaces | 1.2 Untagged (Click Add) |
| External: VLAN Tag | 10 |
| External: Interfaces | 1.1 Untagged (Click Add) |
 - At the bottom of the page click Finished to create the default network.
This completes the initial Network Set-Up of DHD.